How to create & deploy a custom theme in MOSS?
About 3 years ago this was one of the first questions I got when I started my first internship. Back then I was working with Sharepoint Portal Server 2003 & WSS v2. Soon I discovered it wasn’t as easy as it looked, but I got the basic idea. Every modification was by hand, but has something changed since then?
Classic 2003 way to create a custom theme
Create a custom theme the ‘2003 way’ was mainly copying, pasting & editing files on the sharepoint web server. Especially the editing of the theme stylesheet, which contains a enormous amount of elements & classes, was a hell of a job. Fortunately tools like Color cop & Internet Explorer developer toolbar made it a bit manageable. Also resources like Heather Solomon’s CSS reference guide were pretty useful.
The basic steps were:
1. Copy a existing theme on the MOSS web server
2. Renaming setup file (.inf)
3. Modifying the stylesheets, images
4. Adding the theme to the TEMPLATE\LAYOUTS\1033\SPTHEMES.XML file
If you are searching for howto’s I can recommend articles from: Sharepoint End User Content Team, Tigirry’s Sharepoint Blog & Dan Lewis
Creating a custom theme MOSS style
Since then a lot has changed in the world of Sharepoint. Cool things like solutions, timer jobs & features were introduced with the release of MOSS. But googling on “create custom theme moss” still gives the same result. Copying & editing theme files on the web server.
Has nothing really changed since then? No, some things have changed, thanks to the wonderfull MOSS community.
That is also the main reason of this post. Two days ago I came across a this post from Keith Dahlby from Solutionizing.net about his STSDev Theme solution generator. He wrote that he added this option to the codeplex project STSDEV. It automates all step 1,2 & 4 described in the 2003 way and adds it to a Visual Studio project. And instead of manually copying it to the web server it creates a solution!
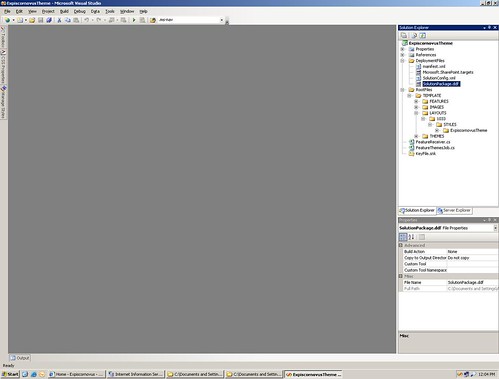
Adding import technique to Theme solution project in VST
One of the drawbacks of this was that if you upgrade the theme solution you still had to re-apply it by hand to the sites that are already using it. In some scenario’s this can be a problem. At this point the @import technique described by Heather Solomon comes around the corner. Keith Dahlby was already talking about implementing this in his generator, so looking forward to it.
In the meantime I manually added the import technique to my Visual Studio project, this is how I did it.
1. Follow Keiths steps described in this post to develop a theme solution project with STSDEV found on Codeplex
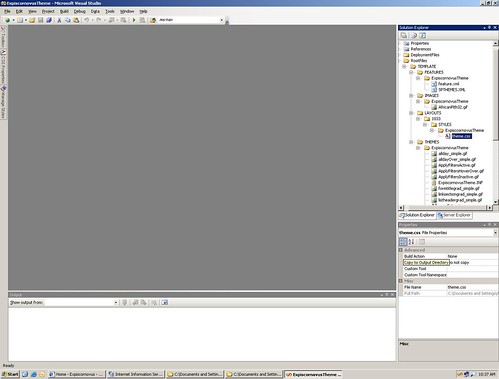
2. Create a new folders in the ROOTFILES directory for your theme.css file, I use the LAYOUTS/1033/STYLES/ location, as described in Heather’s @import technique post.
3. Copy your theme.css file from the THEMES folder in ROOTFILES into the newly created folder in step 2
4. Edit the theme.css file in the THEMES folder by removing al styles and replacing it by the single line:
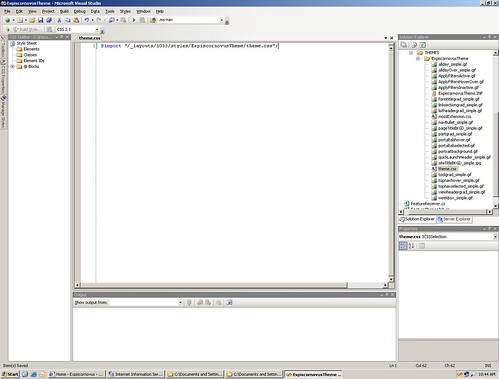
5. That’s it, if you build the project you get a solution file (.wsp). Next time you upgrade your theme solution you don’t have to re-apply the theme to every individual site that uses it, just press (ctrl + ) F5!
Customizing
Although this solution makes the creation and deployment of custom themes a lot easier it is still a good idea to think about customizing. Customizing a theme is still basicly editing a extensive CSS file. If you want it to look completely different from the basic MOSS look be aware this could be a hell of a job with all those elements. If you want to read more about theme customization I can recommend one resource in general: Heather Solomon’s blog. She has a lot of great articles on customizing, so definitely visit that blog.
Update 07-10-2008
Removed step 5 because the ddf & manifest files are modified during the rebuild process.