Add profiles to People web part
One of the nicer SharePoint Online building blocks is the People web part. Normally you manually configure this by adding people profiles one by one. In this article I will show you how you can provision profiles via a Power Automate flow.
Inspiration
This question from DPozzi:
my organization made a SharePoint site for ex-employee. They register thru a Form and a flow creates the guest users, adds them to the security group, and adds rows with all the user data to a SharePoint list. On the same SharePoint site, there is a page with the People web part section to show all the community members.
Right now they are manually added, anyone knows a way to add them thru a flow collecting the name from the SharePoint list? How could I point to the section and add personas?
Power Users Community thread: Add users to People Web Part in SharePoint page.
YouTube video
Before you continue reading. I also have YouTube video about the setup.
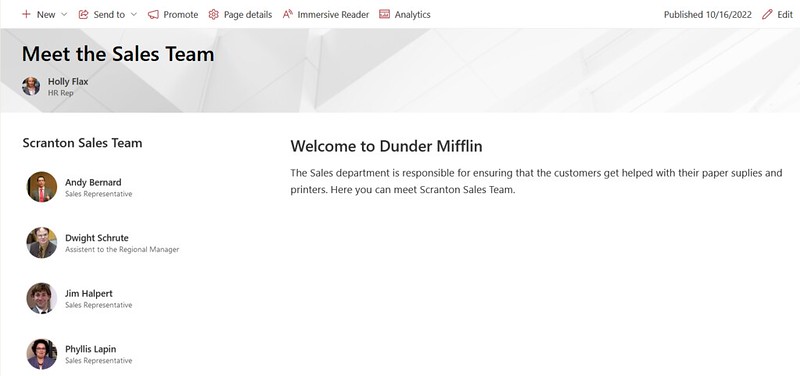
Person Web Part
Using a person web part on a page is a great way to give the content a personal look and feel. I have been using it for example for Meet the Team kind of pages. However, it does require some manual configuration. Every person needs to be manually added to that web part.
Couldn’t we automate this instead?
SearchablePlainTexts and Persons
After analyzing a couple of SavePage requests in the Developer Toolbar network tab I figured out that we could use the Persons and searchablePlainTexts properties within the Json payload.

Example format searchablePlainTexts
Example format Persons
List users
When figuring out the format the next step was to retrieve the People data. The most sense was to get it from Azure Active Directory, because everything is stored over there. I used the List users method from the Graph API for this.
In this scenario it is possible to use a $filter query parameter on the Department field.
Lets try and turn this into a working flow!
Flow setup
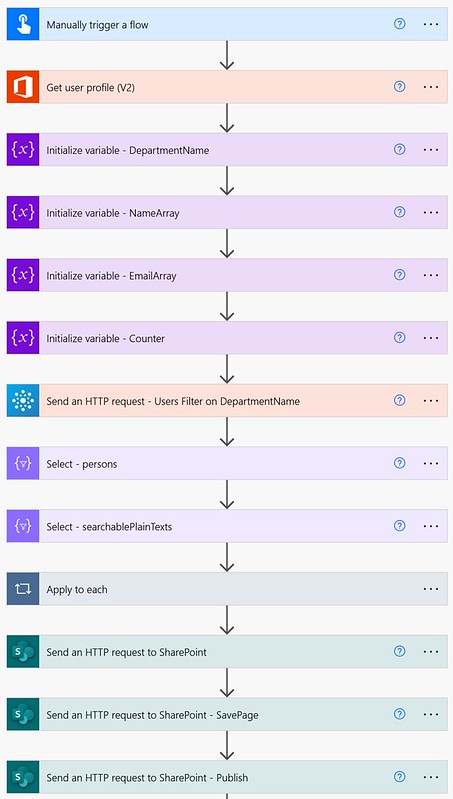
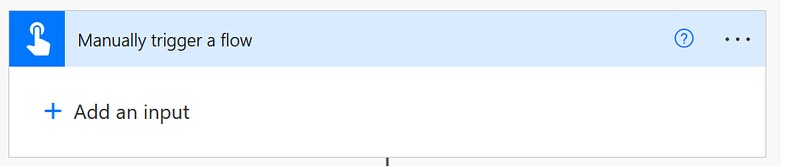
1. Add a Manually trigger a flow action.
2. Add a Get User profile (v2) action.
To retrieve my an email for the Author field of the SharePoint page.
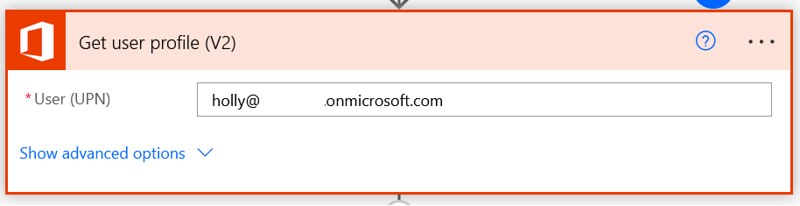
a. Provide a Value for the User
3. Add a Initialize variable action.
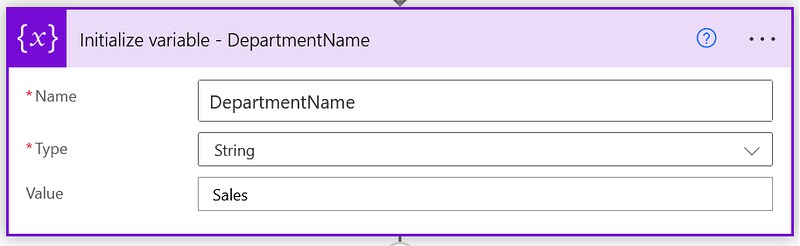
a. Provide a Name, in this example DepartmentName
b. Select a Type, String
c. Provide a Value, in this case Sales
4. Add a second Initialize variable action.
This is an array which will be used to format the names of the users in the correct format for the searchablePlainTexts property.
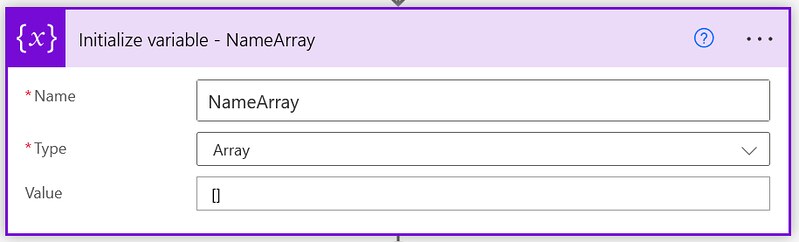
a. Provide a Name, in this example NameArray
b. Select a Type, Array
c. Provide a Value, in this []
5. Add a third Initialize variable action.
This is an array which will be used to format the email addresses of the users in the correct format for the searchablePlainTexts property.

a. Provide a Name, in this example EmailArray
b. Select a Type, Array
c. Provide a Value, in this []
6. Add a fourth Initialize variable action.
Each item in the array requires an index. This counter is to keep track of the item number and use that in the formatting.
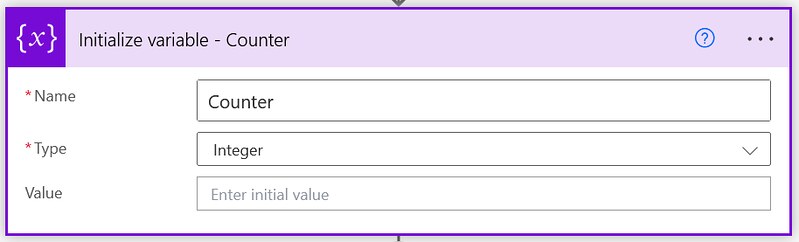
a. Provide a Name, in this example Counter
b. Select a Type, Integer
c. Provide a Value, in this 0
7. Add a Send an HTTP request action (Office 365 Groups Connector).
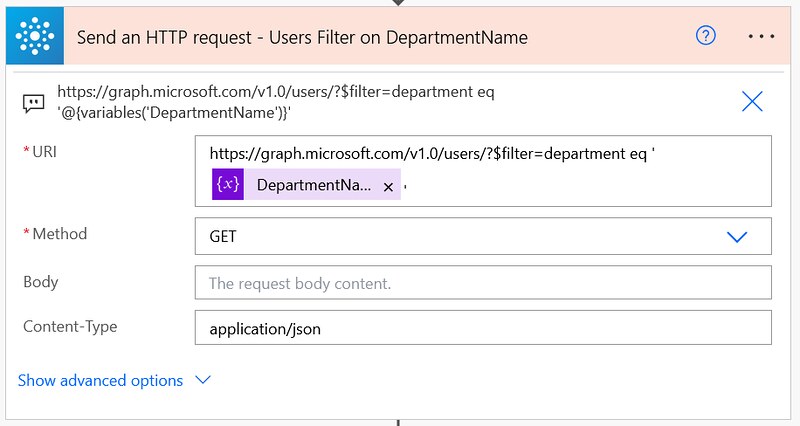
a. Use the value from the code snippet below for the URI field
b. Select the GET method
8. Add a Select Action.
The correct values for the persons array are retrieved from the Send an HTTP request output and are sorted ascending on DisplayName.
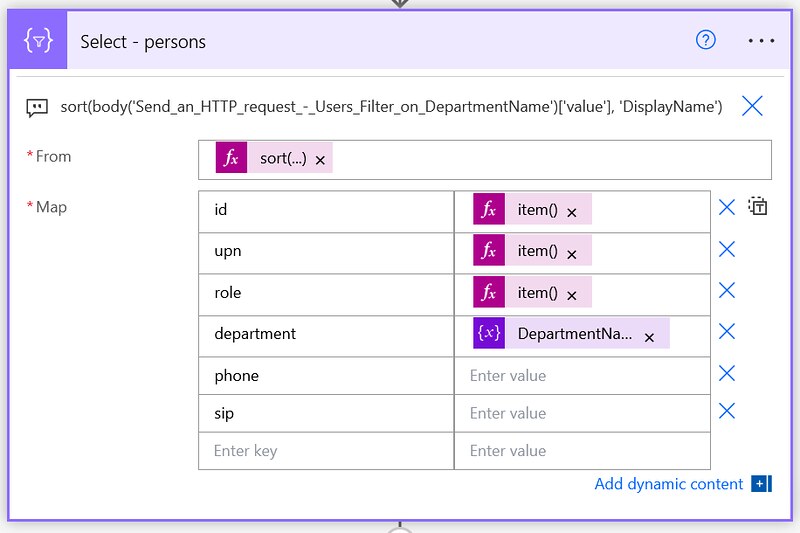
a. Use the expression from the code snippet below for the From field
b. Use the expressions from the code snippet below for the value columns in the Map field
9. Add a second Select Action.
The correct values for the persons array are retrieved from the Send an HTTP request output and are sorted ascending on DisplayName.

a. Use the expression from the code snippet below for the From field
b. Use the expressions from the code snippet below for the value columns in the Map field
10. Add a Apply to Each action.
Loop through every item of the searchablePlainTexts output.

a. In the Select an output from previous steps use the Output of the Select – searchablePlainTexts action
11. Add a Append to array variable action (within the Apply to each action).
The counter and the name are concatenated into the right format.
a. Select a Name, in this case NameArray
b. Use the expression from the code snippet below for the Value field
12. Add a second Append to array variable action (within the Apply to each action).
The counter and the email are concatenated into the right format.
a. Select a Name, in this case EmailArray
b. Use the expression from the code snippet below for the Value field
13. Add a Increment Variable action (within the Apply to each action).
a. Select a Name, in this case Counter
b. Provide a Value, in this case 1
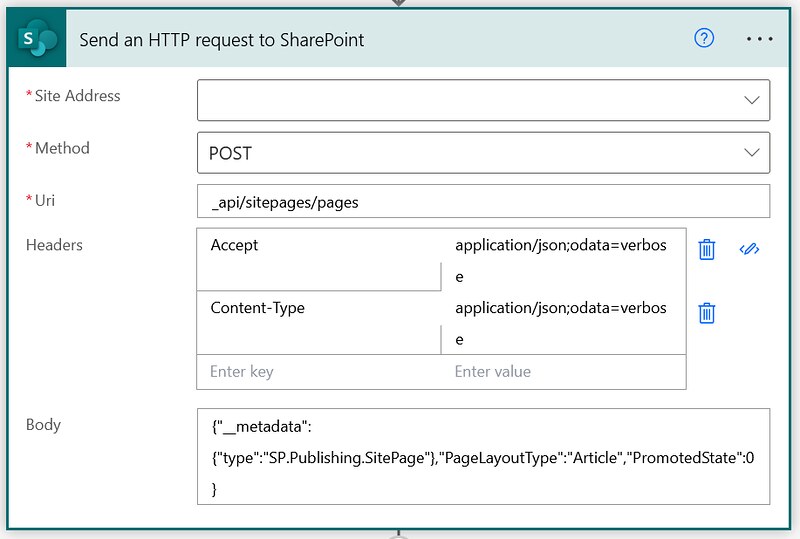
14. Add a Send an HTTP request to SharePoint action.
First request to create the SharePoint Online page.
a. Select your preferred site in the Site Address
b. Use the POST method
c. Use the URI from the code snippet below
d. Use the Headers from the code snippet below
e. Use the Body from the code snippet below
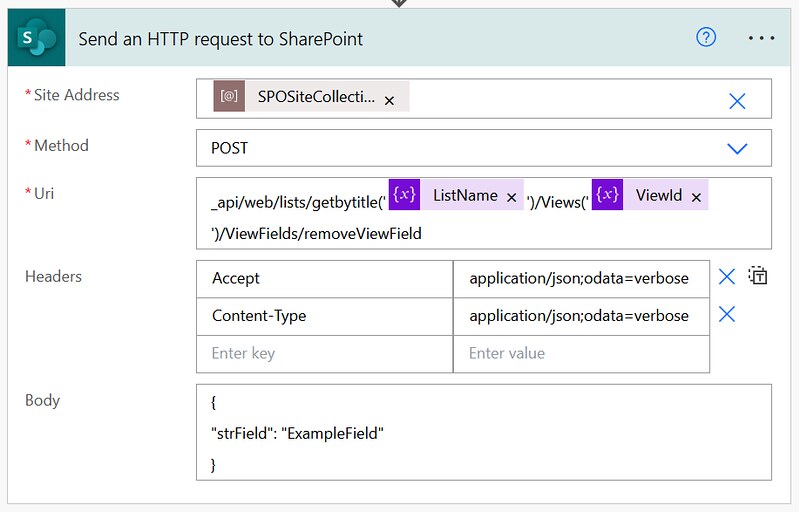
15. Add a second Send an HTTP request to SharePoint action.
Second request to modify the content on the newly created SharePoint Online page.

a. Select your preferred site in the Site Address
b. Use the POST method
c. Use the URI from the code snippet below
d. Use the Headers from the code snippet below
e. Use the Body from the code snippet below
16. Add a third Send an HTTP request to SharePoint action.
Third request to publish the newly created SharePoint Online page.

a. Select your preferred site in the Site Address
b. Use the POST method
c. Use the URI from the code snippet below
d. Use the Headers from the code snippet below
That is it for the setup of this example.
Other scenarios
While this is a one time setup you can also use it to keep your department page up to date.
Besides that other scenarios can also use this approach:
– Welcome onboard; automatically show the latest 5 hires on a page by sorting on the employeeHireDate field
– Work Anniversaries; automatically create a page with employees who are celebrating a work anniversary based on the employeeHireDate field
– Happy Birthday; automatically create a page with employees who are celebrating their birthday based on the birthday field
For now, Happy testing!


Great work Dennis! Just the thing I was looking for to populate the Homepage for project sites we generate automatically.
Hi Lennard, great to hear this was useful, thanks for the feedback! 🙂
Looking forward to trying this, thanks Dennis. I’m going to see if I can add some date filters to show when they start and remove after a period of time.
This works great! Is there a way to add the records to an existing Person Web Part, rather than creating a new one?
Yes, that should be possible as well. In that case you first need to retrieve the existing payload from the CanvasContent1 and identify the items and append or replace that payload. After that you should be able to MERGE it on the page with for example the SavePageAsDraft or SavePage methods.
Hello, this is awesome. What I would like to do is have the people web part get information from a SharePoint list so that everytime someone joins or leaves that list the web part remains updated. I will have email address and person’s name there